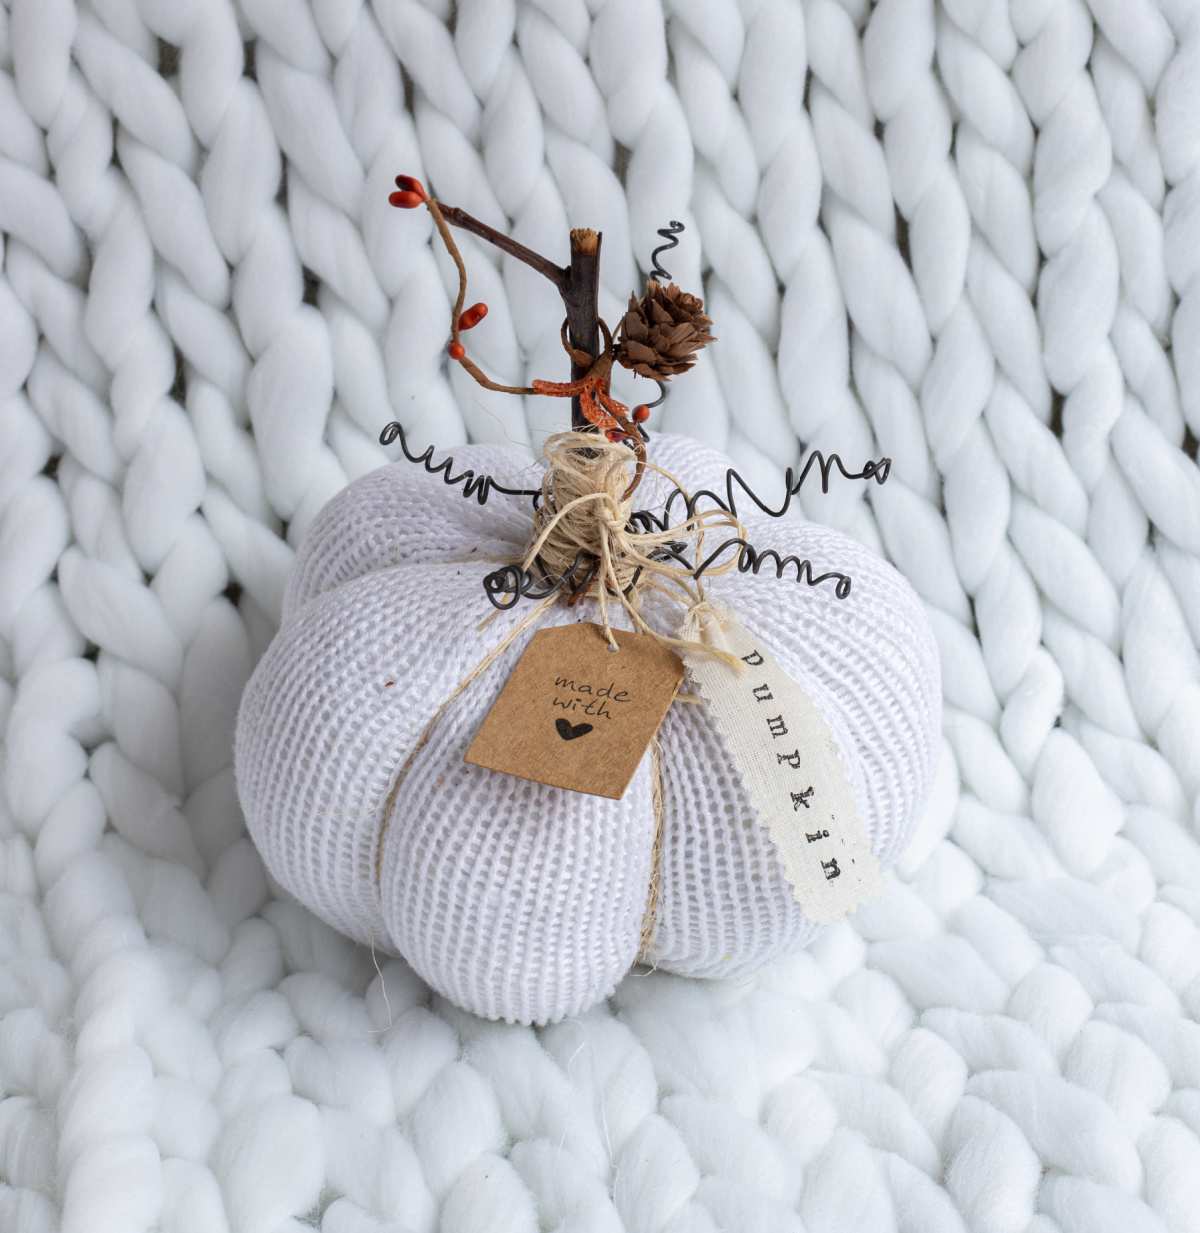
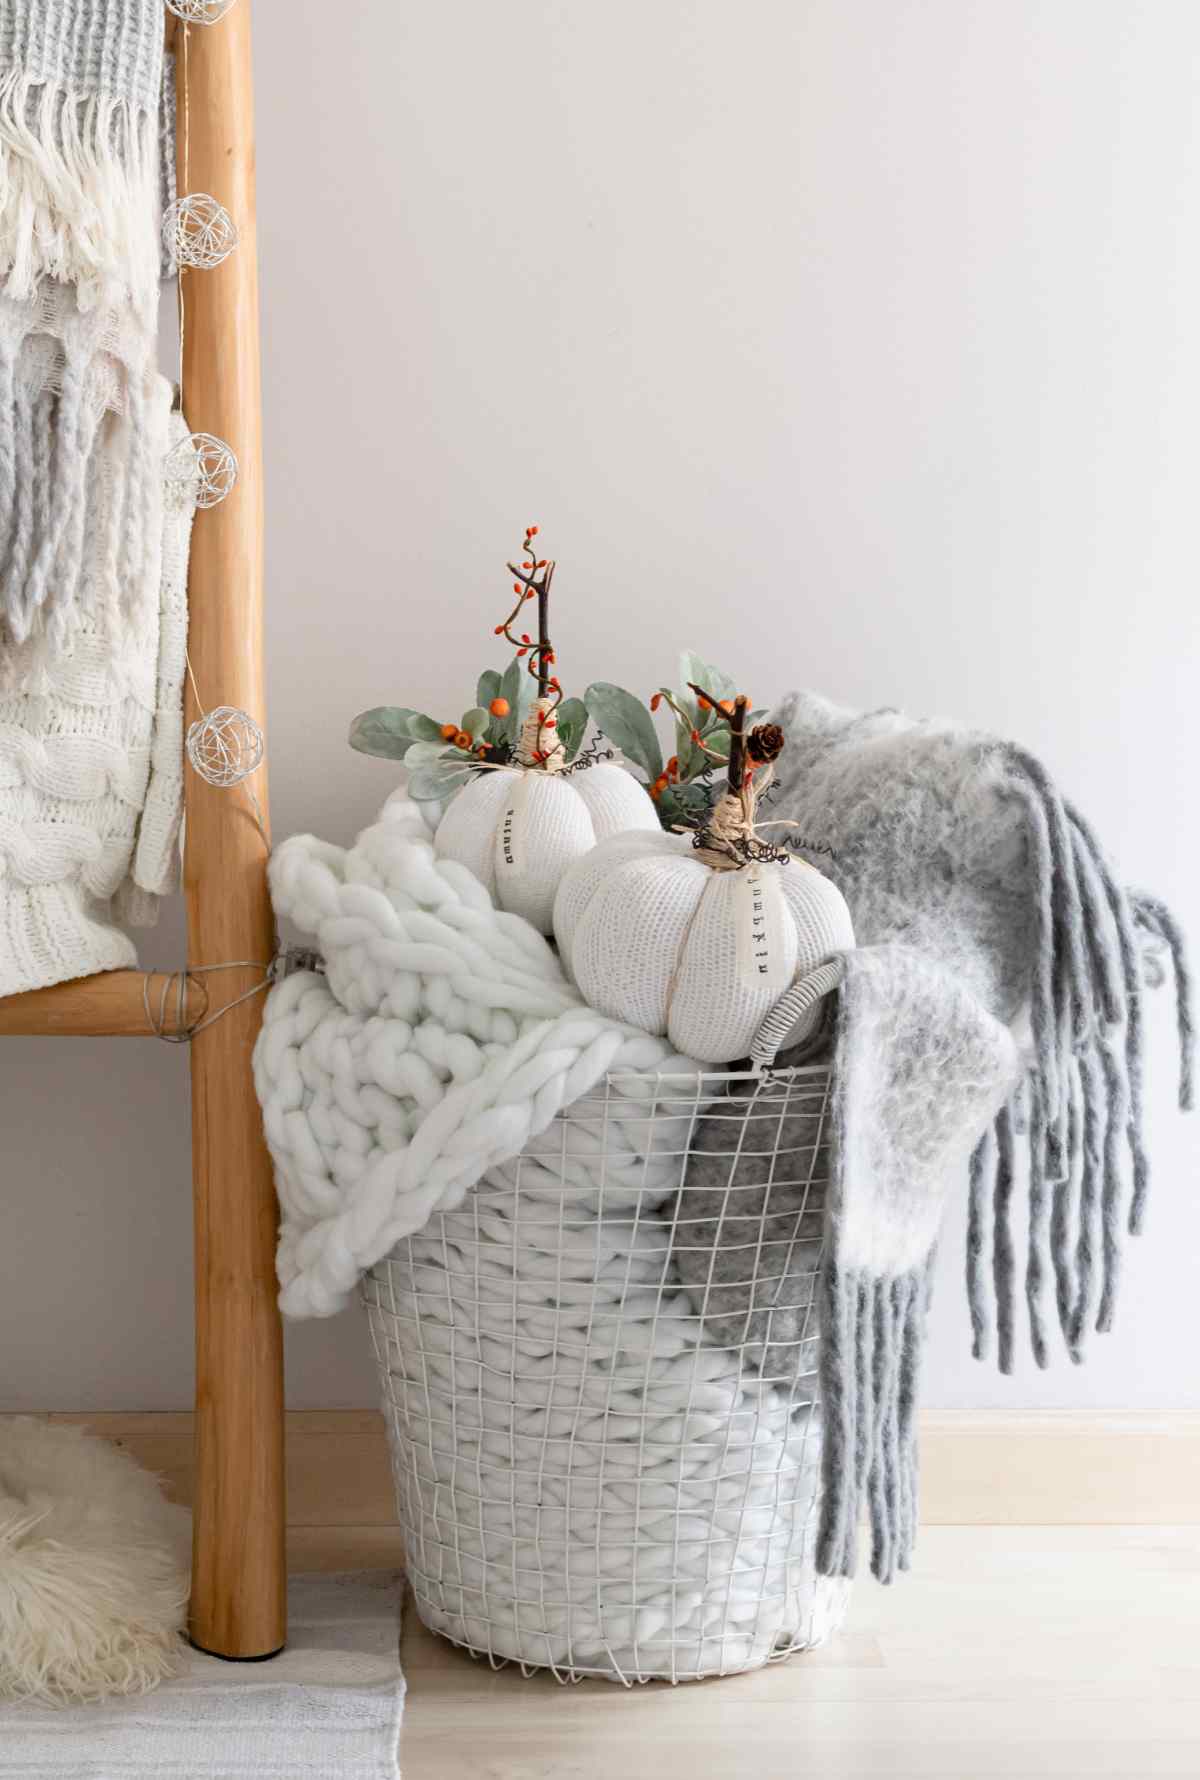
These white chenille pumpkins make great use of an old bedspread. The project is easy to do and the result is stunning!
Are you tired of the traditional orange Halloween decor? Try this project on for size.
Halloween is coming and if you don’t like the mess of a carved pumpkin, this project will let you have pumpkin decor without the mess!

Image shared with permission of Erin Art and Gardens
There are, honestly, not many Halloween decorations that I would consider displaying in my home. I did when my daughter was younger but those days have passed now.
When I saw this lovely Chenille pumpkin set on Erin Art and Gardens I was impressed. This was something that I would display with pride. Erin found her chenille pumpkins at a flea market and shared a photo of them with us.
However, making fabric pumpkins yourself would be a very easy project to do so I thought it would be fun to give some directions for making fabric pumpkins so you can try them yourself.
How to make chenille pumpkins
If you would like to make these fabric pumpkins yourself, you will need these supplies:
Some of the links below are affiliate links. I earn a small commission, at no extra cost to you if you purchase through an affiliate link.
- Craft wire rope
- Gold spray paint
- 3 faux pumpkins
- A white chenille throw (any white soft fabric would work – be sure to check thrift stores as they often have inexpensive blankets)
- A rustic branch (you can get one from your yard)
- Hot glue gun and glue sticks
- Needle and thread
Note: Hot glue guns, and heated glue can burn. Please use extreme caution when using a hot glue gun. Learn to use your tool properly before you start any project.
The cloth pumpkins project is simple to do. To start, coil the wire into three spirals, spray it with gold paint and allow to dry.
Then, cut the chenille bedspread into 3 circles that are large enough to wrap the faux pumpkin smoothly with not too much extra material.
Cut the branches are cut into three pieces short enough to function as pumpkin stems. Wrap the coiled wire around the stems, and hot glue them, to the top of the faux pumpkins.
Take your white thread and needle and stitch it loosely through the outside of the chenille circles. Bring the circle up to the top of the faux pumpkins and draw it tightly so that it gathers around the top and around the stem and tie to secure.
Display them with pride!
Many thanks to Erin of Erin’s Art and Garden and her flea market find for sharing her photo of these chenille pumpkins! Be sure to visit her site. She has many photos of them on display and also shows the design in orange material.
Variations on a chenille pumpkin
This project could be made with any type of white fabric. I love the look of white chenille because it is so delicate and has interesting texture, but the sky is the limit for fabric pumpkins.

The photo above uses a white sweater cut into circles, stuffed with fiber fill and tied with jute. The fiber fill yields a softer looking pumpkin.
This pumpkin decor would look great on a Thanksgiving table, and are a more subtle decoration than the orange pumpkins found at this time of year.
Share this post for making fabric pumpkins on X
Let your friends and family know how to make these white chenille pumpkins by sharing the post below.
Are you tired of the traditional orange Halloween decor? Think white, think delicate, think chenille! See how to make these soft and pretty pumpkins on Always the Holidays. Share on XPin these fabric pumpkins
Would you like a reminder of this post for making DIY fabric pumpkins? Just pin this image to one of your DIY boards on Pinterest so that you can easily find it later.

White Chenille Pumpkins

Are you tired of the look or orange pumpkins for your decor? Why not try these white ones on for style. They are made of white chenille.
Materials
- Heavy gauge wire that can be coiled
- Gold spray paint
- A white chenille blanket or bedspread
- 1 set of faux pumpkins (you could also use fiber fill shaped into balls for a softer look)
- 1 rustic branch from your yard
Tools
- Scissors
- Needle and thread
- Hot glue gun and glue sticks
Instructions
- Coil your wire into a 3 spiral pieces, and spray it with gold paint. Let the pieces sit aside to dry.
- Cut a circle from the chenille bedspread that is large enough to wrap the faux pumpkin smoothly with not too much extra material.
- Repeat for each of the pumpkins. Choosing three different sizes of pumpkins makes this project look great!.
- Cut the branches into 3 short pieces. Coil the sprayed wire around the base of each of the branch pieces.
- Glue the stems to the top of the chenille pumpkins (if your faux pumpkins have plastic stems, remove those before doing this step).
- Take your white thread and needle and stitch it loosely through the outside of the chenille circles.
- Bring the circle up to the top of the faux pumpkins and draw it tightly so that it gathers around the top and around the stem. Tie to secure.
- Stitch it in place firmly.
- Display with pride.
Notes
If you are using fiber fill packing instead of faux pumpkins, use some matching twine to wrap the pumpkin to make ridges up the sides.
Recommended Products
As an Amazon Associate and member of other affiliate programs, I earn from qualifying purchases.


Samantha
Sunday 30th of September 2018
Adorable! I am going to do this.
Karen
Monday 18th of September 2017
These are adorable, going to create with my grand kids,thanks so...much for sharing!
Carol
Monday 18th of September 2017
Hope they like it!