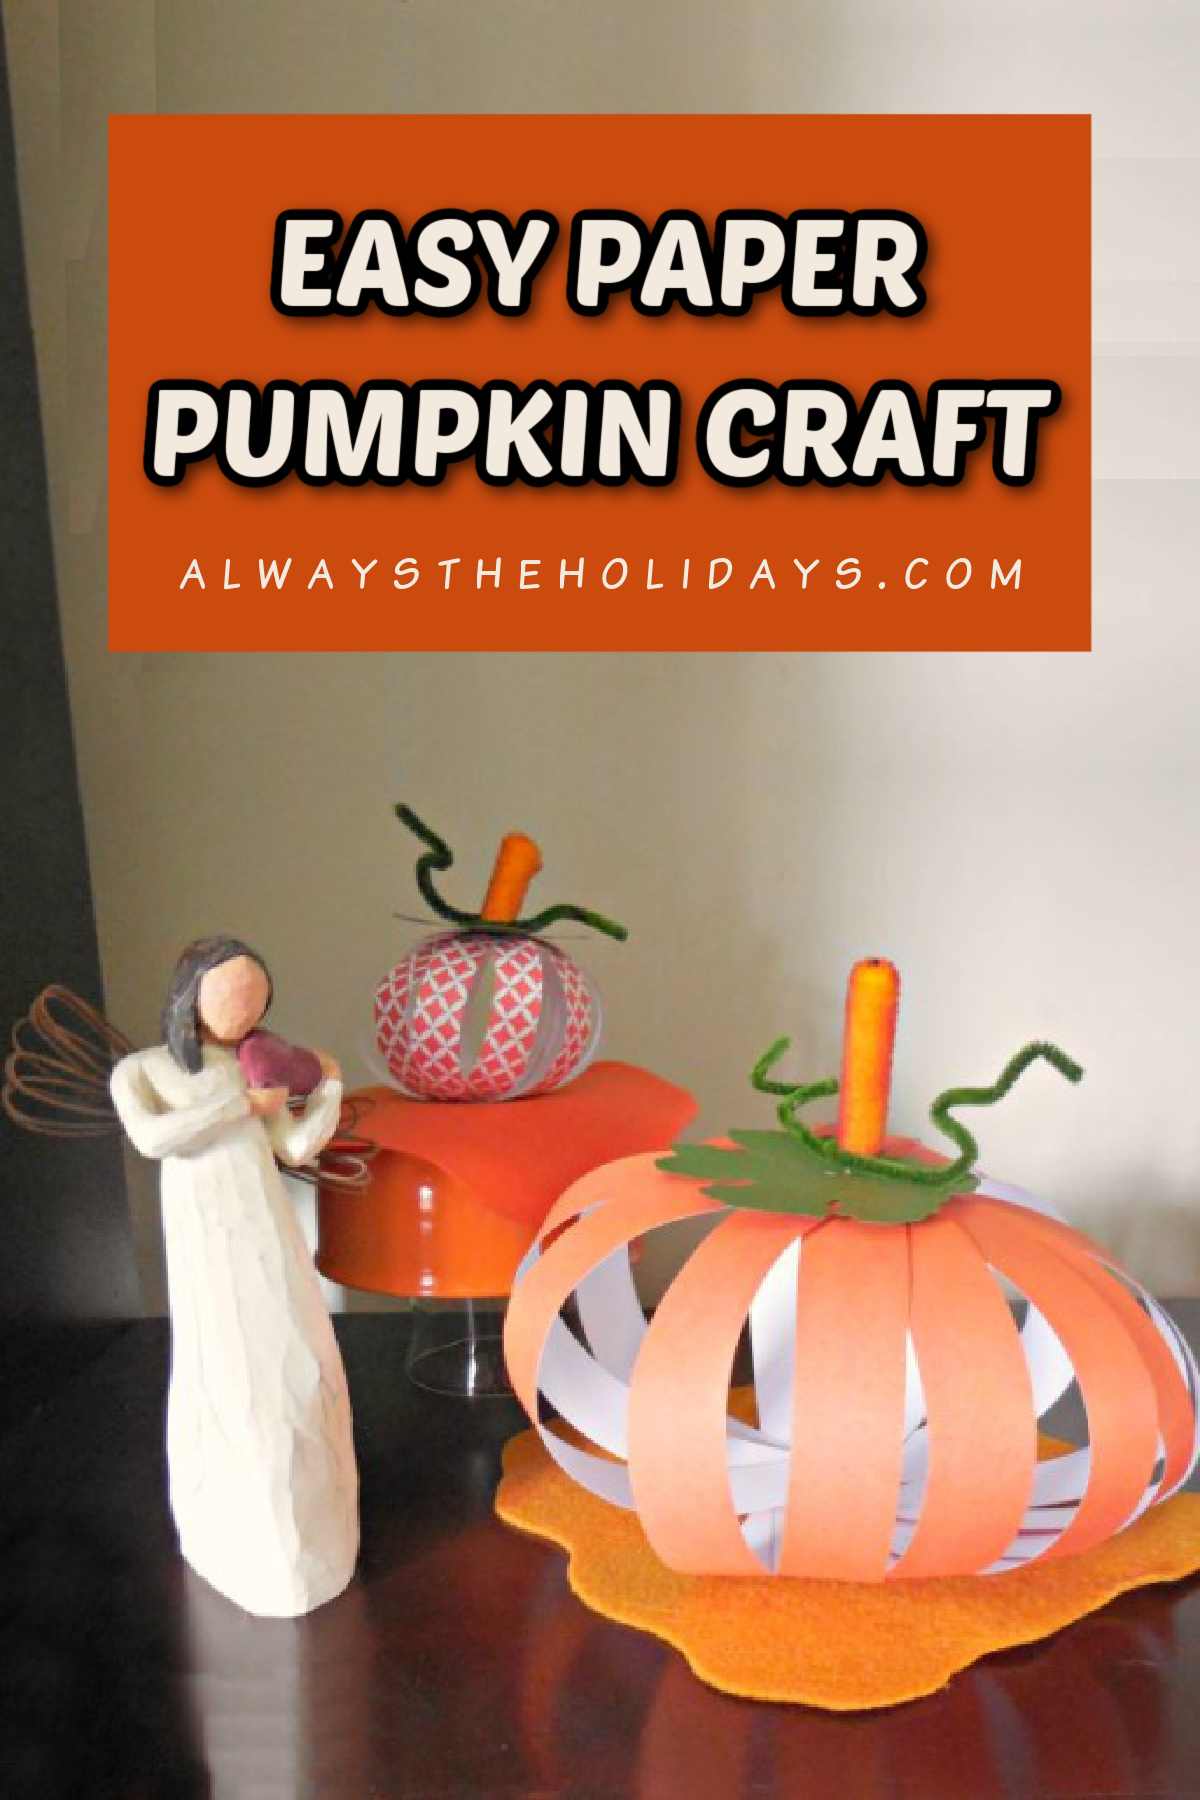
This paper pumpkin craft is easy to make and only requires a few supplies. Plus, it takes less than 30 minutes to make!
If you want to display a pumpkin this fall, but don’t want the mess of carving a real pumpkin into a jack-o-lantern, then this project is for you.
These paper strip pumpkins are make a cute table decoration for both Halloween and Thanksgiving.
Keep reading to learn how to make this easy fall craft.

Paper pumpkin craft supplies
Some of the links below are affiliate links. I earn a small commission, at no extra cost to you if you purchase through an affiliate link.
The supplies below are to make one DIY paper pumpkin. If you want to make more pumpkins, adjust your supplies accordingly.
- Small piece of thick green scrapbook paper (for the leaf)
- 2 sheets of thick scrapbook paper, any color (for the pumpkin)
- 2 half inch metal brads
- 1 plastic cattail decoration
- 1 green pipe cleaner
- Glue gun and glue stick
- 1 square of felt
How to make paper pumpkins
Note: Hot glue guns, and heated glue can burn. Please use extreme caution when using a hot glue gun. Learn to use your tool properly before you start any project.
Making the leaves
Make the leaves of this paper pumpkins craft by printing this leaf template to use as your leaf pattern. Trace it on your green paper and cut it out.
- For a larger pumpkin I printed it out as a four-inch leaf.
- For a smaller pumpkin I just cut it down to a smaller size by hand.

Making the paper strips
You can use any colors you would like for the paper pumpkins. There are loads of cool colors out there!
- For a larger pumpkin cut the scrapbook paper into 1 inch strips.
- For a smaller pumpkin cut the scrapbook paper into ½ inch strips.

Assembling the DIY paper pumpkins
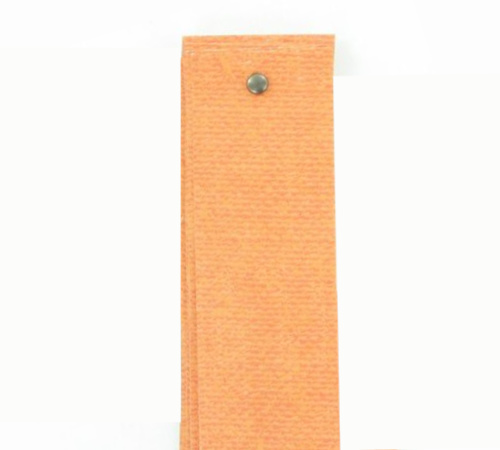
Gather the strips of scrapbook paper into a stack. Carefully poke a hole in one end with a sharp pin. Insert a half inch brad through the hole and fasten.

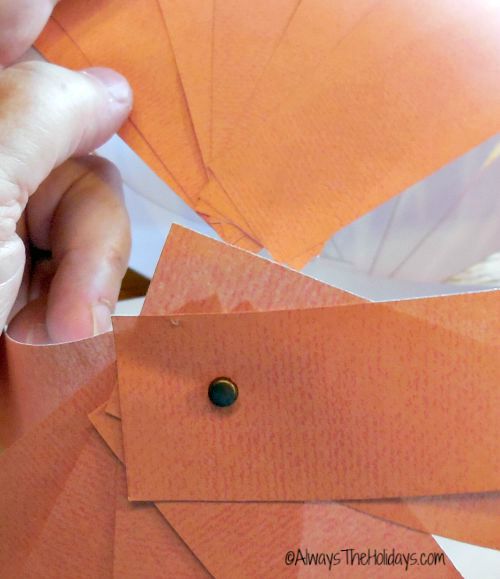
Splay out the paper pieces evenly.

Gather them at the top so that the paper forms a pumpkin shape. Poke another hole through the top and fasten with another brad.

Hot glue the leaf to the top of the pumpkin, covering the brad.
Then hot glue the cattail decoration to the leaf. Wrap a green pipe cleaner around it, and position it the way you would like it.

The last step is to make the base by cutting the piece of felt into a circle with scalloped edging. Hot glue the pumpkin to the center of the felt and display.
Tips for success when making this paper pumpkins craft
Be sure to follow the tips below for success when making this simple pumpkin craft.
- Use good quality premium scrapbook paper. Some scrapbook paper is really thin and this won’t hold up well for this project. When the pumpkin craft is finished, the paper needs some stability or it won’t sit properly on the felt.
- Use half inch brads. If you use smaller brads, you’ll have a hard time fastening all the paper together.

Share this easy fall craft on X
Have you enjoyed learning how to make paper pumpkins? Let your friends and family know about them by sharing this post:
Want to make an easy craft project this fall? Head to Always the Holidays for a tutorial to make simple DIY paper pumpkins! 🎃🌱 #FallCraft #FallDIY #PumpkinCraft Share on XPin this simple pumpkin craft on Pinterest
Would you like a reminder of this post with a easy pumpkin craft? Just pin the image below to one of your fall boards on Pinterest so you can easily find it later.

Easy Paper Pumpkin Craft

Looking for a fall craft to display on your table this autumn? Try making this easy paper pumpkin craft!
You can make these scrapbook paper pumpkins in less than 30 minutes. All you need are a few supplies and a hot glue gun.
Materials
- Small piece of thick green scrapbook paper (for the leaf)
- 2 sheets of thick scrapbook paper, any color (for the pumpkin)
- 2 half inch metal brads
- 1 plastic cattail decoration
- 1 green pipe cleaner
- 1 square of felt
Tools
- Hot glue gun
- Glue stick
Instructions
Notes
- Use good quality premium scrapbook paper. Some scrapbook paper is really thin and won’t hold up well for this project. When the pumpkin is finished the paper needs structure or it won’t sit right on the felt.
- Use half inch brads. If you try to use smaller brads, you’ll have a hard time fastening all the paper together.
- There are step by step photos in the post above that show how to make these easy paper pumpkins.
Recommended Products
As an Amazon Associate and member of other affiliate programs, I earn from qualifying purchases.


