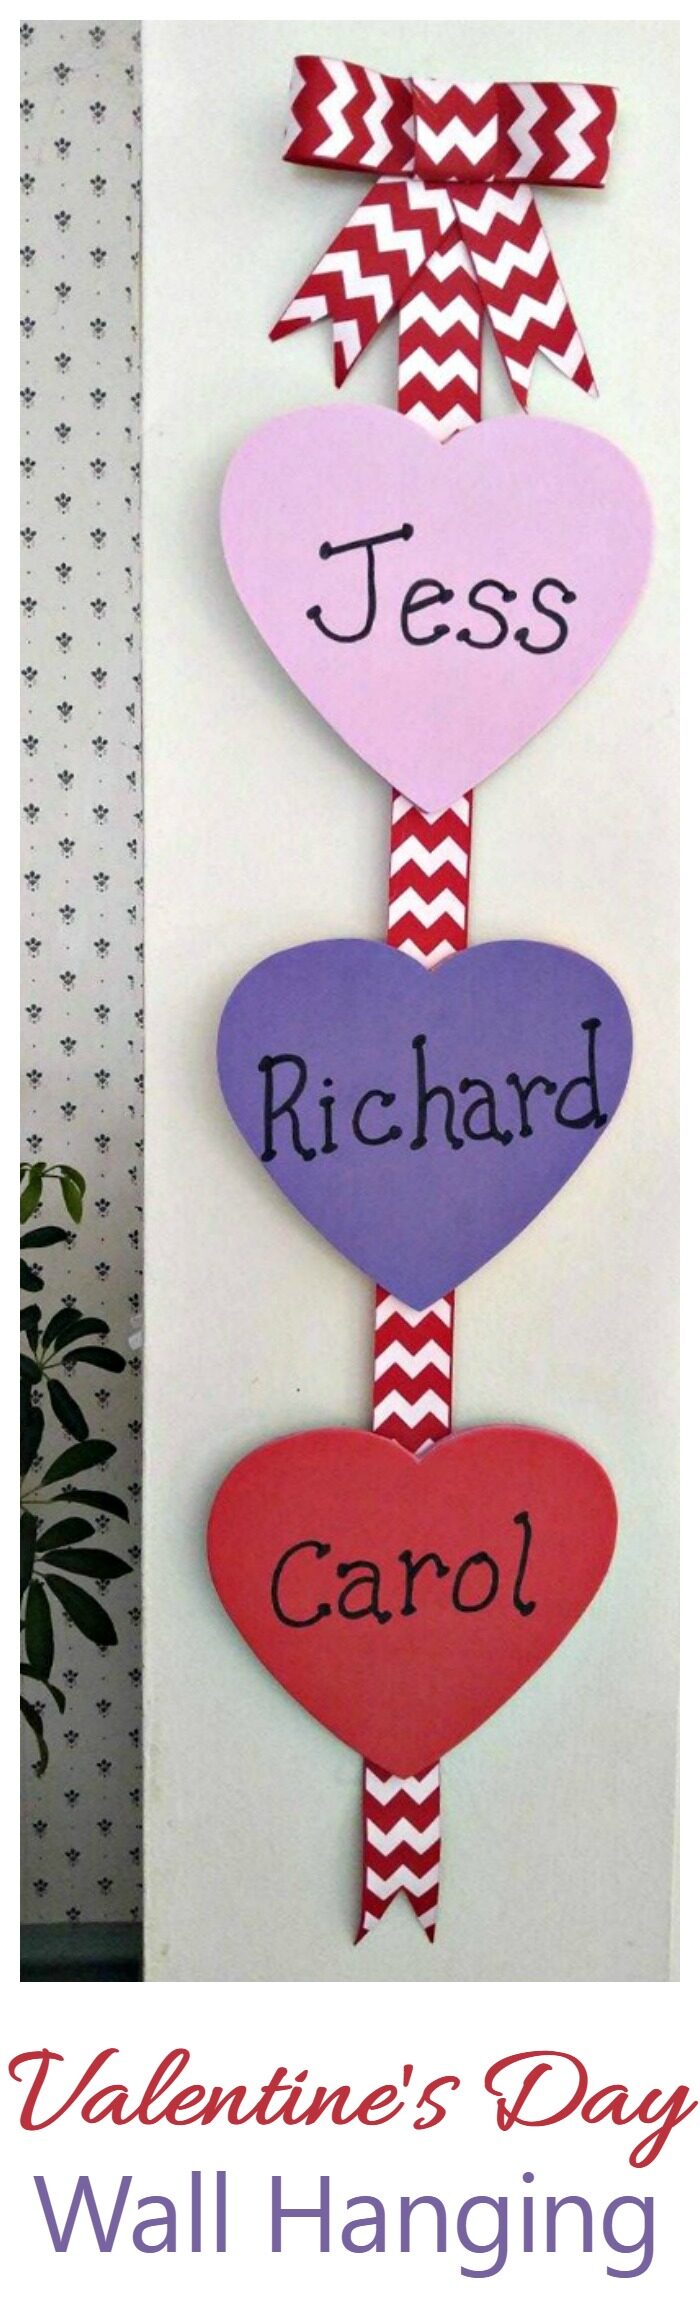
This Valentine’s Day wall hanging is inspired by my favorite Valentine’s Day candy – Conversation Hearts. I made two versions of it.
One version has the names of my family members and the other has some Conversation Heart inspired sayings.
This wall hanging makes the perfect Valentine’s Day decoration because of its use of colors. Red, white and pink are thought of as the main colors of Valentine’s Day.
It also uses purple, which is technically a color of Mardi Gras, but I thought it looked nice for Valentine’s Day too!
This all decoration is the perfect way to celebrate with your gal pals on Galentine’s Day, too.

That spot is actually my reading nook, but it’s where Jess sits when she watches TV and she named it that, since it is a bit out of the way of our chairs. We’ve called that spot the time out chair for years, even though she has never spent an actual moment of time out in it! 🙂
Check out my post for Tootsie Pop Flowers for another fun Valentine’s Day project.
Note: Power tools, electricity, and the hot gun used for this project can be dangerous unless used properly and with adequate precautions, including safety protection. Please use extreme caution when using power tools and electricity. Always wear protective equipment, and learn to use your tools before you start any project.
Let’s make a Valentine’s Day Wall Hanging!
A recent shopping for craft supplies for Valentine’s Day gave me exactly what I needed to make this cute wall hanging. To make this project you will need the following supplies (this post contains affiliate links for your crafting experience.)
- Plywood to cut out the heart shapes
- Jigsaw
- Foam heart shapes. I got a package of mine exactly the size I needed at my local dollar store, or you can make your won with foam sheets and my pattern below
- Spray adhesive
- Pink acrylic craft paint
- Paint brush
- Sandpaper
- Red and pink 1 1/2″ chevron ribbon
- Sharpie pen
- Hot glue gun and glue sticks
- Metal picture hanger
For the plywood part of my heart shapes, I drew this pattern on some plywood. You can print it out here.
You can also use this same pattern if you can’t find the foam hearts and need to cut yours out of foam sheets.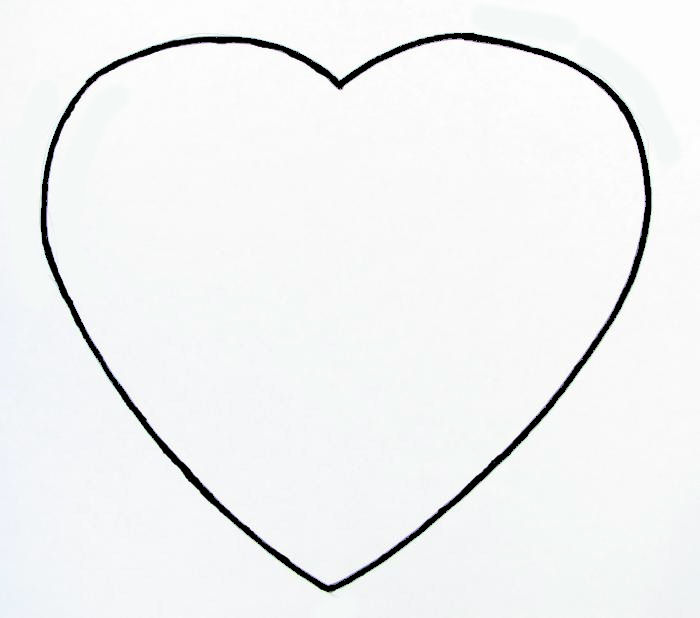
My husband used a jigsaw to cut out the pieces of plywood. The size that I used for mine was approximately 8″.
I cut three hearts, since there are three in my family. If you have more members, you will need more.
The next step was to sand the hearts with sand paper lightly, and then paint the edges of the wooden hearts. I chose a plain pink color.
I’ll be using pink, red and purple foam but I figured that the pink could look fine on each. You don’t need to worry about “over spill”.
The front of the heart will be covered with foam and the back won’t show.
While the paint was drying, I used the Sharpie pen to print our names on three of the hearts and the Conversation Heart sayings on the other three hearts with a fancy font.
TIP: I used a ruler to help me keep an eye on spacing and also to keep my letters somewhat on a straight line. And I did my letters one time and then went over them again a second time.
The foam sort of “sucks up” the color of the Sharpie pen, so two coats works best.
Once the paint on the plywood hearts was dry, I sprayed the heart shapes with some spray adhesive and attached the foam heart to the front of the plywood.
TIP: Shake the spray bottle between each heart shape, so that it coats evenly. Also, the foam acts a bit like a screen saver and can get a few bubbles on it.
Just gently push them out to the edge of the heart until no more bubbles remain.
Cut a piece of the chevron ribbon about 36″ long.
Using the hot glue gun, put some glue down the center of each heart and press them firmly to the ribbon, leaving the same amount of space between each heart, and the same amount of ribbon at the top and at the bottom.
Use pieces of ribbon and hot glue to make a bow for the top and hot glue the bow to the top of the long piece of ribbon that has the hearts on it.
Cut a V into the bottom of the ribbon at the bottom end of the Valentine’s Day wall hanging.
Attach the metal saw tooth picture hanger to the back of the bow to hang the the Valentine’s Day wall hanging.
Here are the two versions of this fun wall hanging that I made. I can’t decide which one I like best!
I didn’t do this, but you could also glue a silk rose in the center of the bow. It would look cute, and be festive, since roses are one of the main Valentine’s Day symbols. 
I love the idea of having all of the names of those in our family displayed on these wooden and foam Conversation Hearts.
This DIY Valentine’s Day wall decoration is just too cute!
Need some help reminding your significant other of the romantic meaning of Valentine’s Day? Use Conversation Heart love sayings instead of your family names. Hint…hint…
What sayings would you have on your wall decoration?
Pin this Valentine’s Day wall decor on Pinterest
Would you like a reminder of this post with this conversation heart wall decor? Just pin the image below to one of your Valentine’s Day Board on Pinterest so you can easily find it later..